Talos VM on Proxmox
Below are the instructions for creating a Talos VM atop a Proxmox host for use with TrueCharts.
Downloading Talos
-
Login to Proxmox, select a node, then select a storage repository (e.g.
local) -
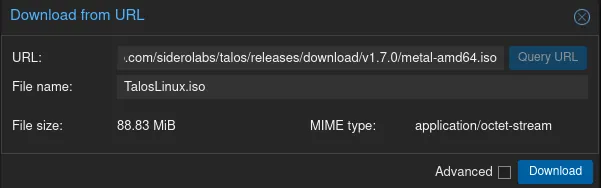
Select
ISO Imagesand then selectDownload from URL -
Paste the Talos Linux Image link here into the
URLfield -
Select
Query URLthen name the filetaloslinux.iso
Creating the VM
-
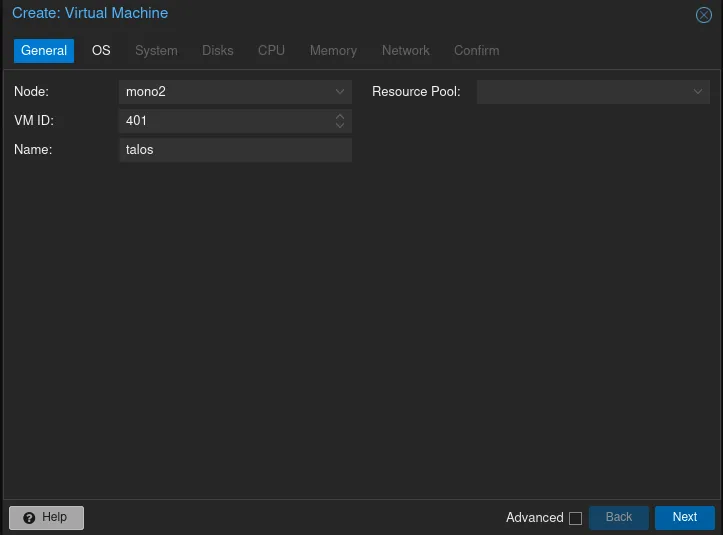
Select the blue button
Create VM -
Enter a VM ID (e.g.
401) and name oftalos
-
Select
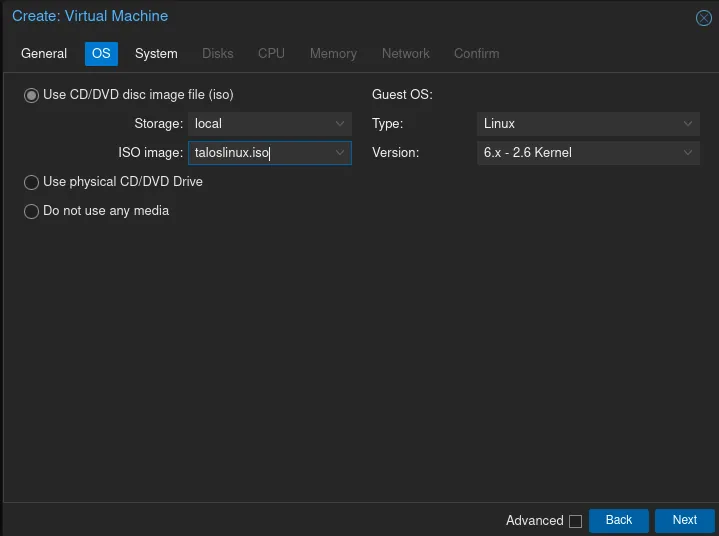
Nextto configure the OS -
Select
taloslinux.isoforISO image
-
Select
Nextto configure the system -
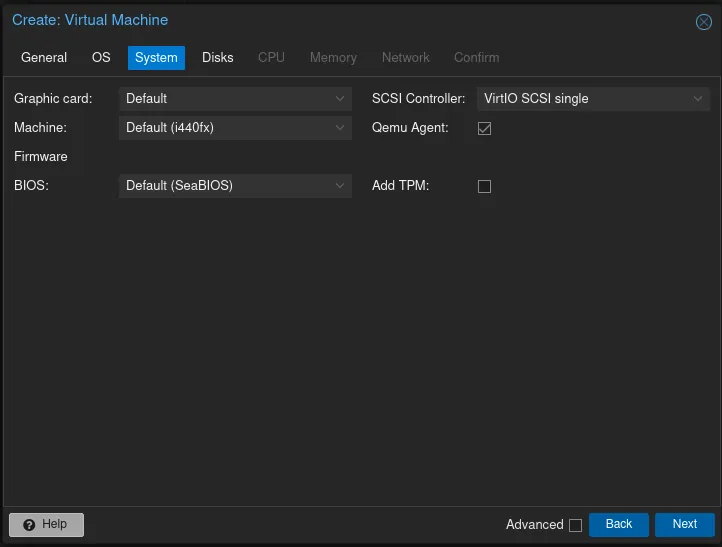
Check the box for
Qemu Agent -
Select
SCSI Controllerby choosingVirtIO SCSI single -
If you have a dedicated graphics card select it from the list in
Graphic card
-
Select
Nextto configure disks -
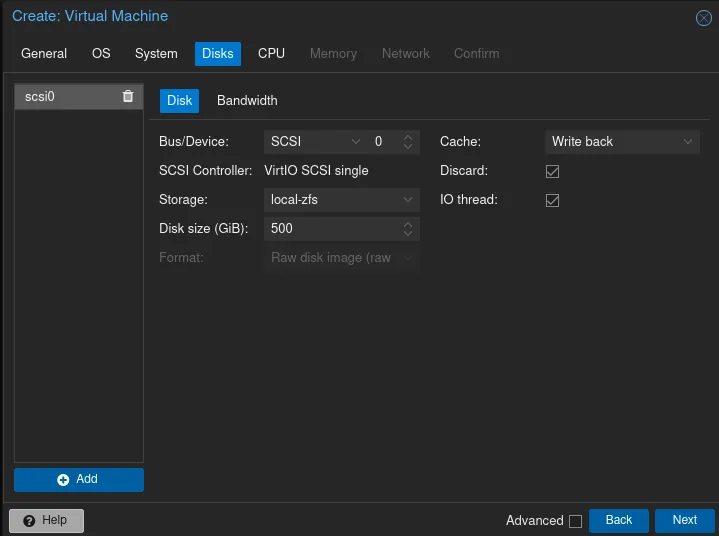
Select a storage repository (e.g.
local-zfs) -
Set the disk size to
500or1000 -
If using an SSD, then for the cache select
Write backand check the box forDiscard
-
Select
Nextto configure CPUs -
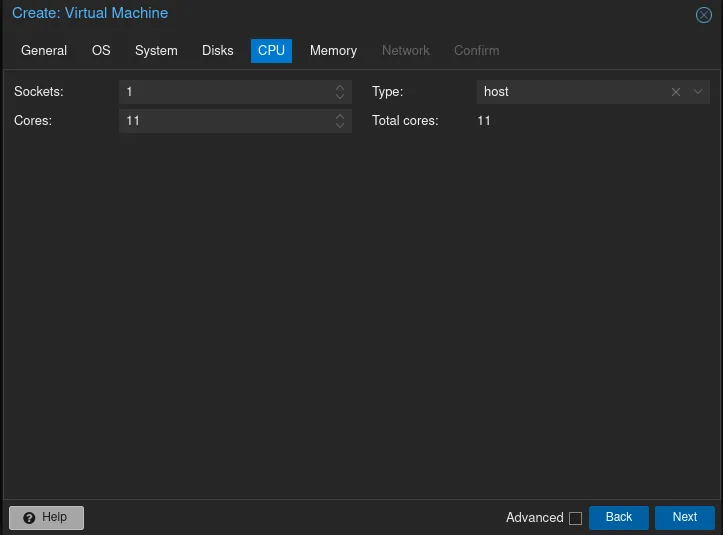
Select the sockets (e.g.
1) and amount of cores to be one less than the total available processor threads (e.g. if you have a 6 core processor with HyperThreading then there are 12 available threads and the value should be11.)
-
Select
Nextto configure memory -
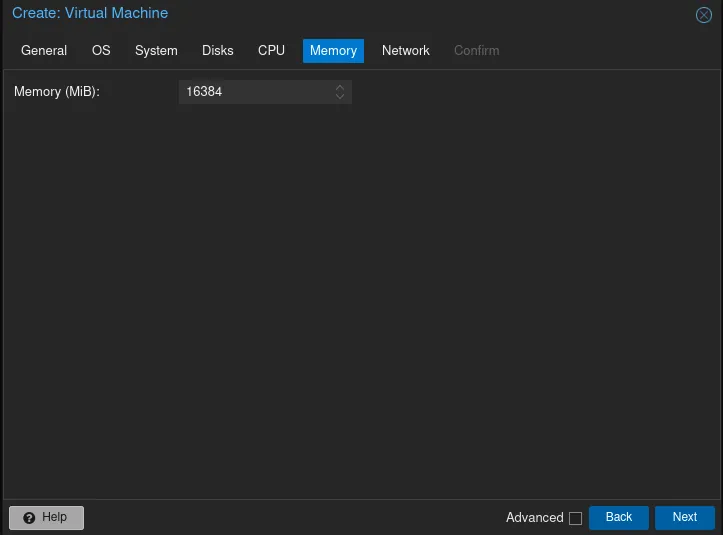
The minimum memory value should be
8192and the recommended value is16384or more Megabytes
-
Select
Nextto configure network -
Select a bridge such as the default
vmbr0. Optionally add a VLAN tag
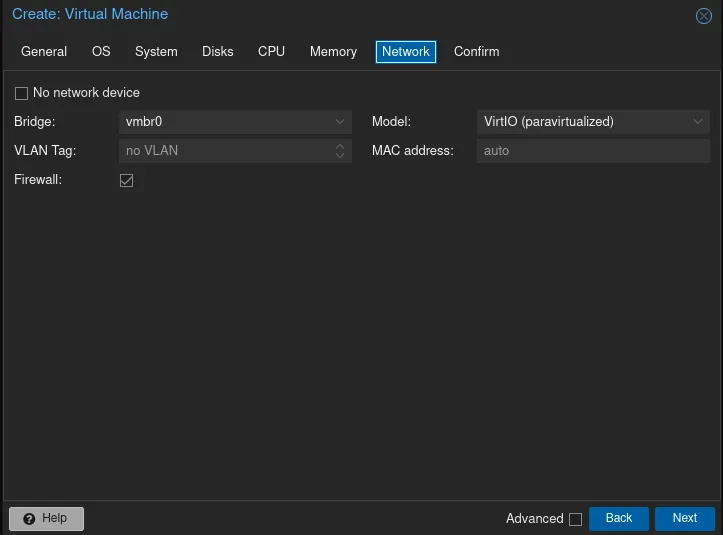
-
Select
Nextto confirm -
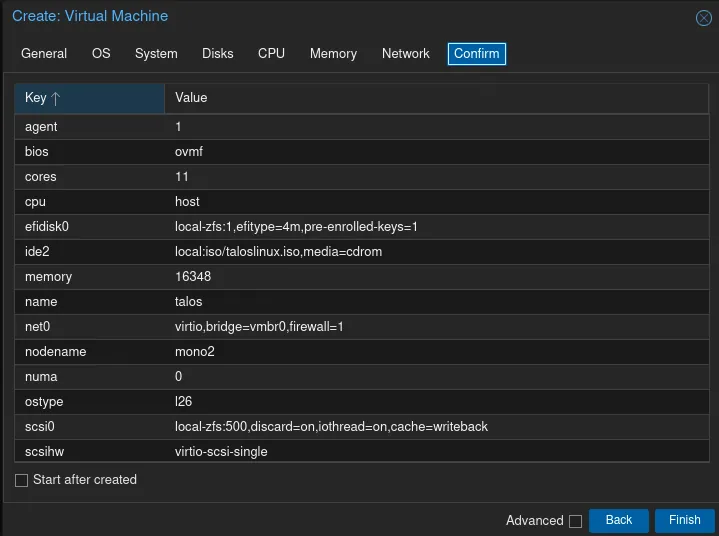
Review settings and optionally select the box for
Start after createdthen selectFinish.