Installation Notes
Prerequisite
Section titled “Prerequisite”In order to get started, plug in your UPS via USB to the server node and before modifying the UPS service section.
Go to your system shell on your node and run the following command to get the basic info for your UPS.
nut-scanner -U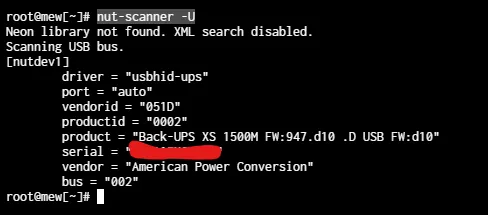
My UPS uses the usbhid-ups driver from driver = "usbhid-ups".
For me though my UPS is not listed in the list, however NUT states you can use others devices of similar models from the same manufacturer as long as its uses the same driver.
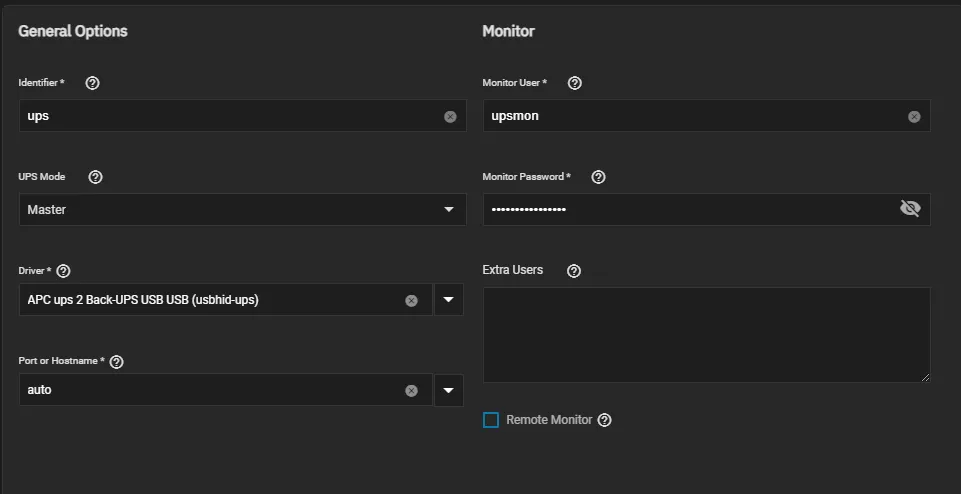
You can change the Monitor User to whatever you want, I kept it default for simplicity.
I highly recommend securing the Monitor Password with a lengthy password. Special characters do work, but only tested a few.
The UPS Mode should be set to Master which means its the server and not the client.
The port or hosthame can be just left at auto.
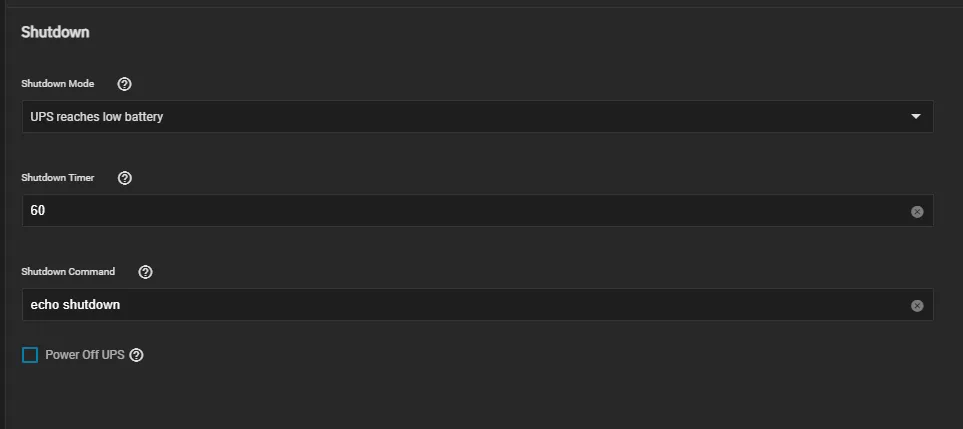
Please set an actual shutdown command, all this will do is echo shutdown in the console.

For Auxiliary Parameters this is what I used:
LISTEN 127.0.0.1 3493LISTEN 0.0.0.0 3493WebNUT Deployment of the Chart
Section titled “WebNUT Deployment of the Chart”Configure via environment variables
- Set
UPS_HOSTto the local IP of your server. - Set
UPS_PORTto3493which is typically the default port. - Set
UPS_USERto the username defined for theMonitor User. - Set
UPS_PASSWORDto the password defined for theMonitor Password.
In order to access the webGUI, you will need to add ingress otherwise it will refuse to connect.
workload: main: podSpec: containers: main: env: UPS_HOST: "127.0.0.1" UPS_PORT: 3493 UPS_USER: monuser UPS_PASSWORD: secretIn order to access the webGUI, you will need to add ingress otherwise it will refuse to connect.