Organizr Forward Auth Setup Guide
Basic setup guide for enabling Organizr authentication on your apps using Traefik forwardAuth.
Requirements
Section titled “Requirements”- Organizr TrueCharts Chart
- Traefik TrueCharts Chart
Prerequisites
Section titled “Prerequisites”This guide assumes you’re using Traefik as your Reverse Proxy / Ingress provider and have through the configuration listed in our [Quick-Start guides]. Please ensure that you can access your domain properly with Ingress before attempting any further steps.
Organizr Chart Setup
Section titled “Organizr Chart Setup”All of the defaults are fine to start off, however ingress must be set if you wish to use organizr with traefik.
In this guide the chart name is organizr and ingress is configured as organizr.example.com
Organizr GUI Setup
Section titled “Organizr GUI Setup”Once the app is deployed, complete the standard installation steps until you get to the Organizr settings page.
Review Pre-defined Groups
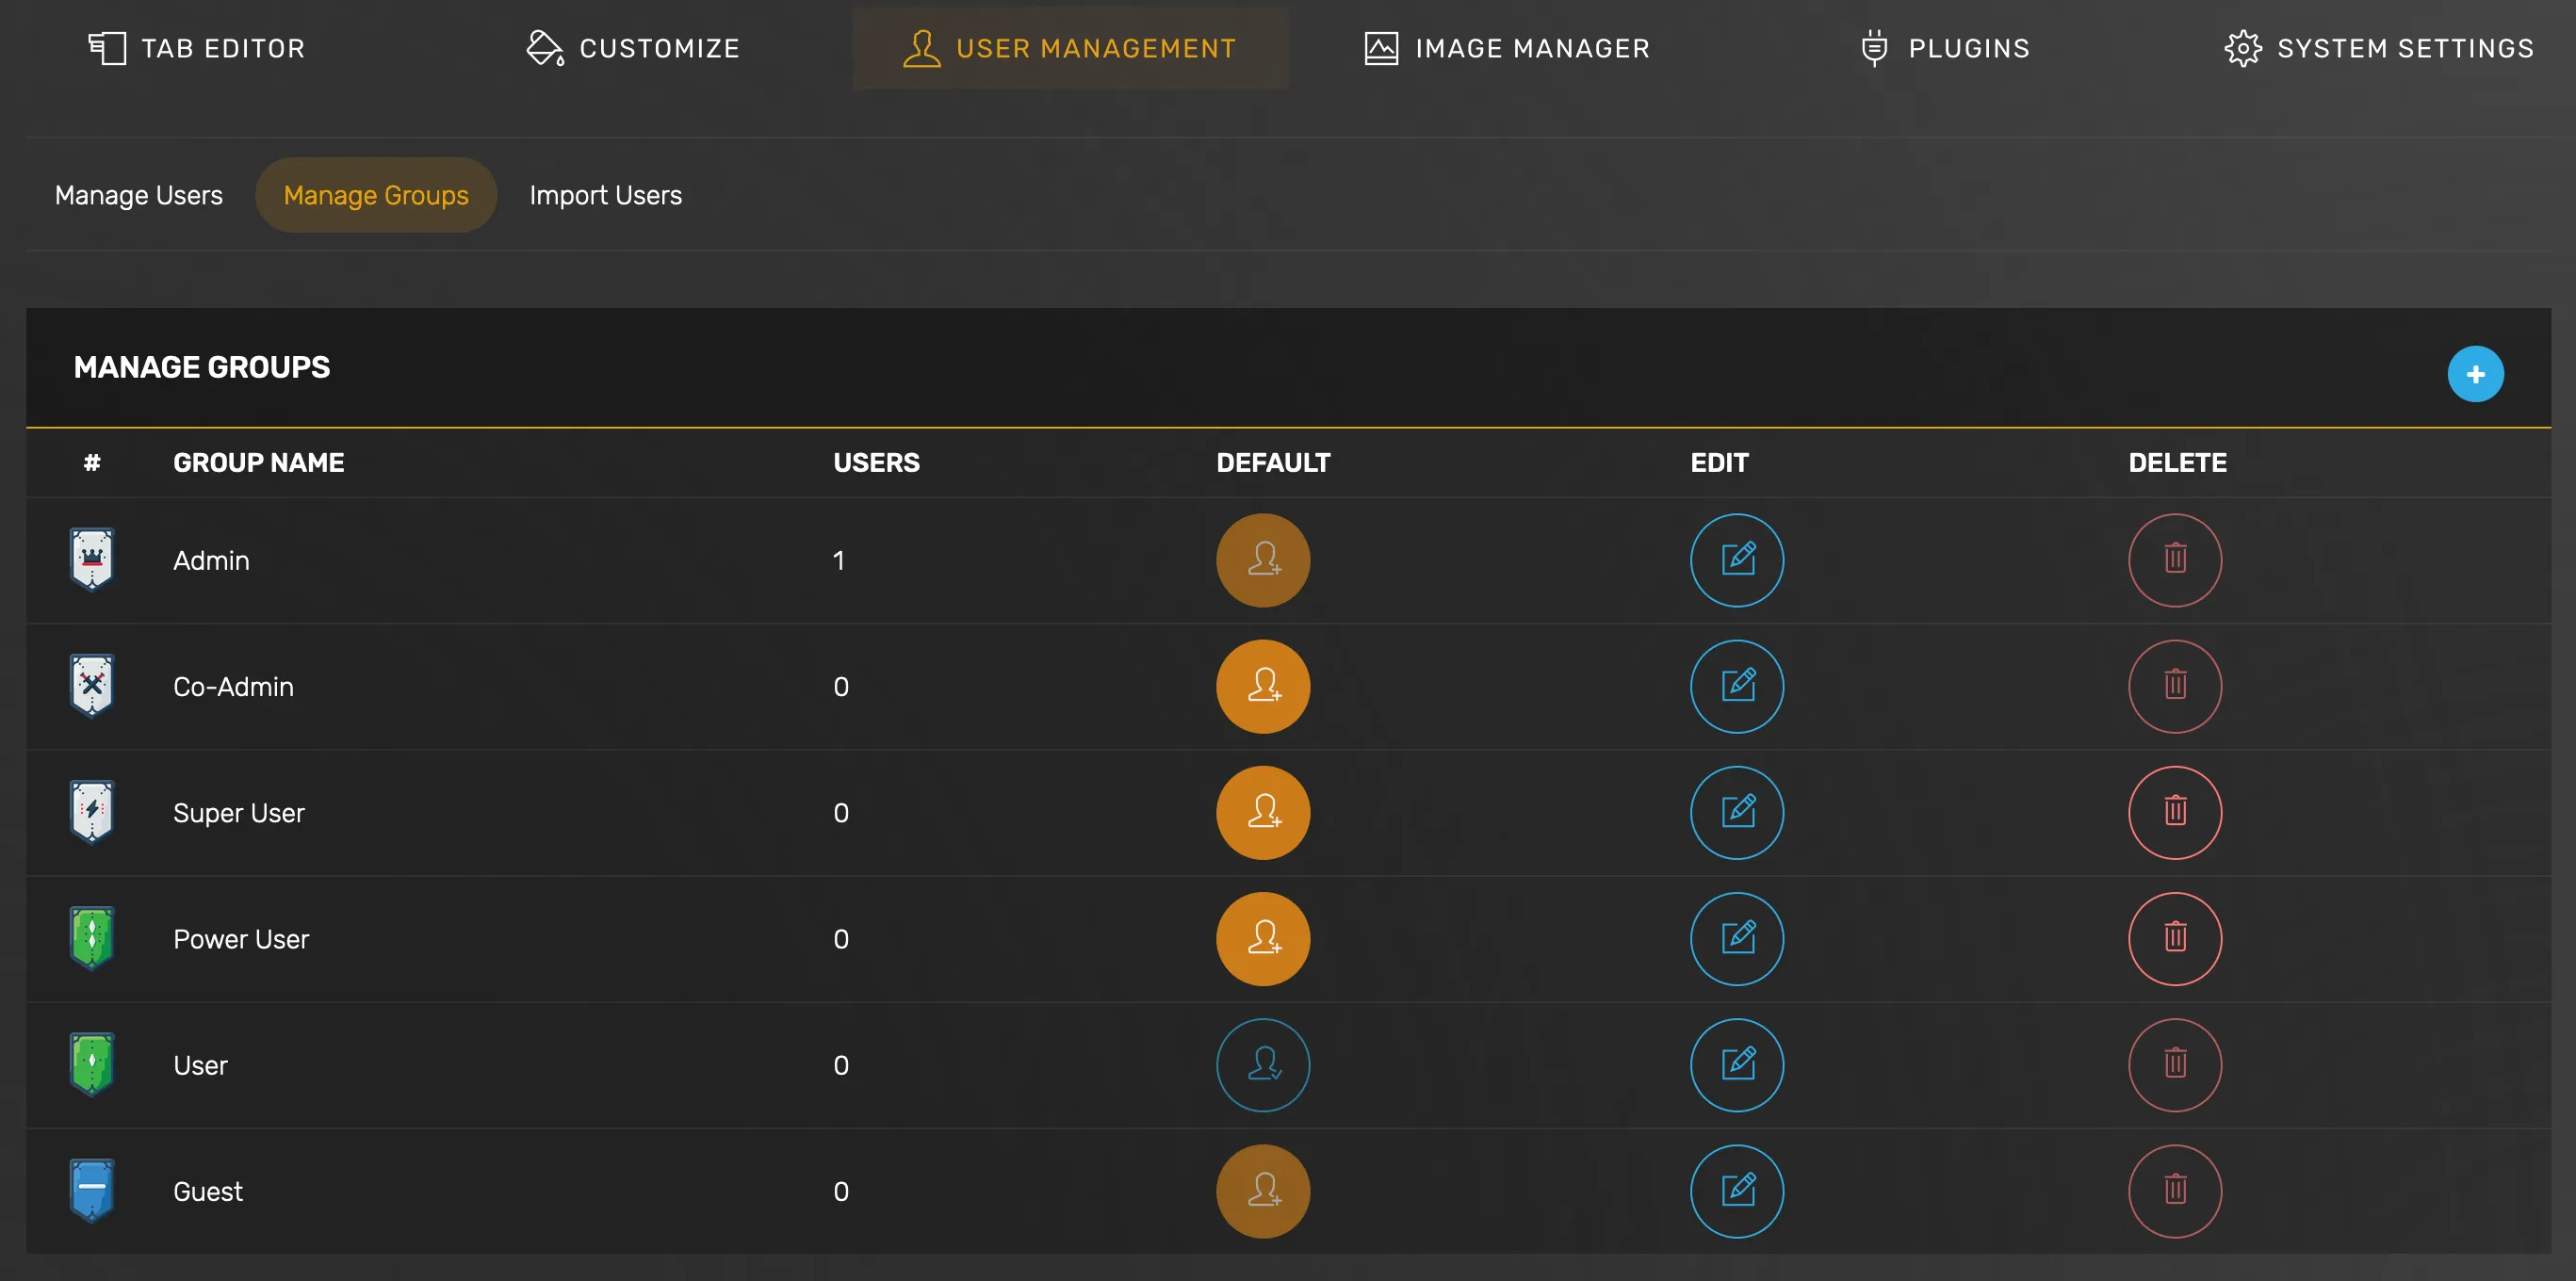
Section titled “Review Pre-defined Groups”Goto Organizr Settings -> User Management -> Manage Groups
No changes needed here for now unless you want to create a custom group
Configure Traefik Redirect
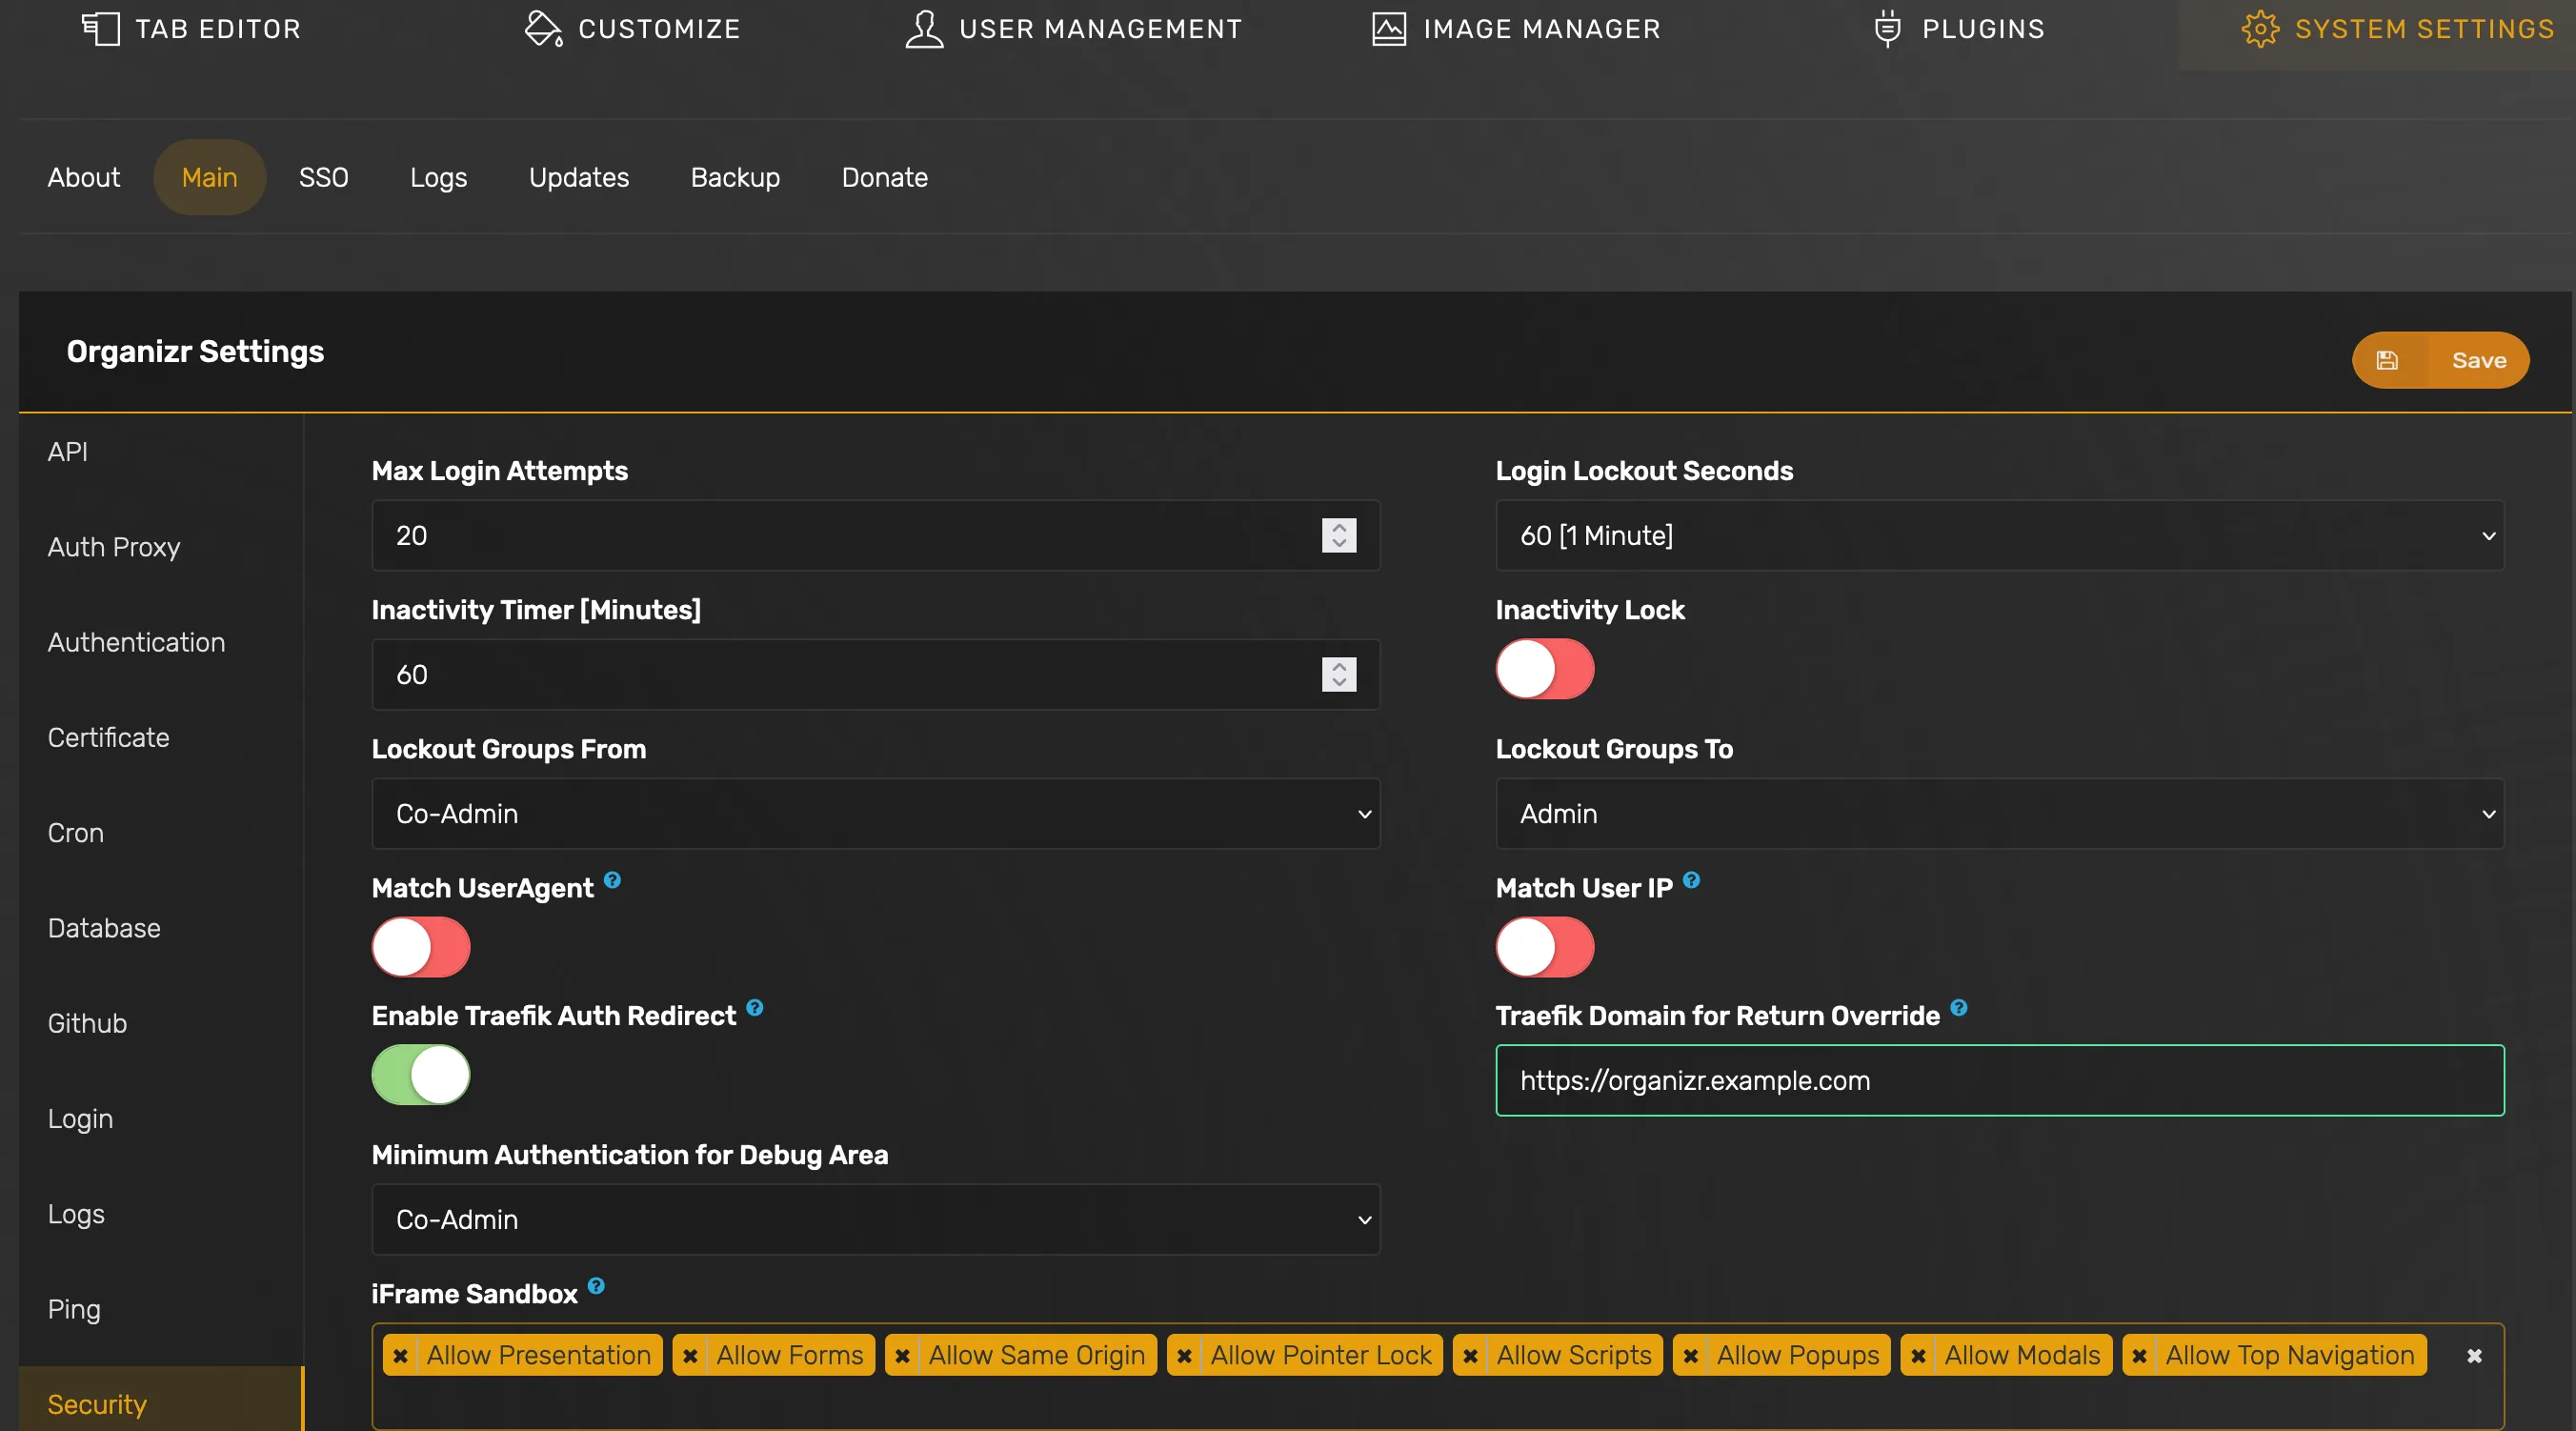
Section titled “Configure Traefik Redirect”Goto Organizr Settings -> System Settings -> Main -> Security
- Set
Enable Traefik Auth Redirectto on - Set
Traefik Domain for Return Overridetohttps://organizr.example.com(this should match the address you defined in the Organizr app ingress section)
Traefik ForwardAuth Setup
Section titled “Traefik ForwardAuth Setup”Once Organizr app is up and running, you must create forwardAuth middleware entries inside Traefik in order to use Organizr’s authentication on your apps.
We will use the Organizr user groups that map to specific forwardAuth URLs.
The below table shows the example forwardAuth entries that correspond to the user groups in Organizr.
The URLs for these entries use the kubernetes internal DNS address & default port (10022) for your Organizr app. You can name the forwardAuth entries whatever you like.
middlewares: forwardAuth: - name: organizr-admin address: http://organizr.organizr.svc.cluster.local:10022/api/v2/auth?group=0 trustForwardHeader: true #OPTIONAL - name: organizr-guest address: http://organizr.organizr.svc.cluster.local:10022/api/v2/auth?group=999 trustForwardHeader: true #OPTIONAL, CUSTOM - name: organizr-custom5 address: http://organizr.organizr.svc.cluster.local:10022/api/v2/auth?group=5 trustForwardHeader: trueSee Organizr documentation on “Server Authentication” for more details on the predefined groups and their corresponding URL pattern.
Add Traefik forwardAuth to Apps
Section titled “Add Traefik forwardAuth to Apps”Once that is done all you need to add the middleware to your apps under the Ingress section, corresponding to the level of
permissions the app’s user should have to access it. Example below uses organizr-admin.
ingress: main: integrations: traefik: enabled: true middlewares: - name: organizr-admin namespace: traefikVerify it works
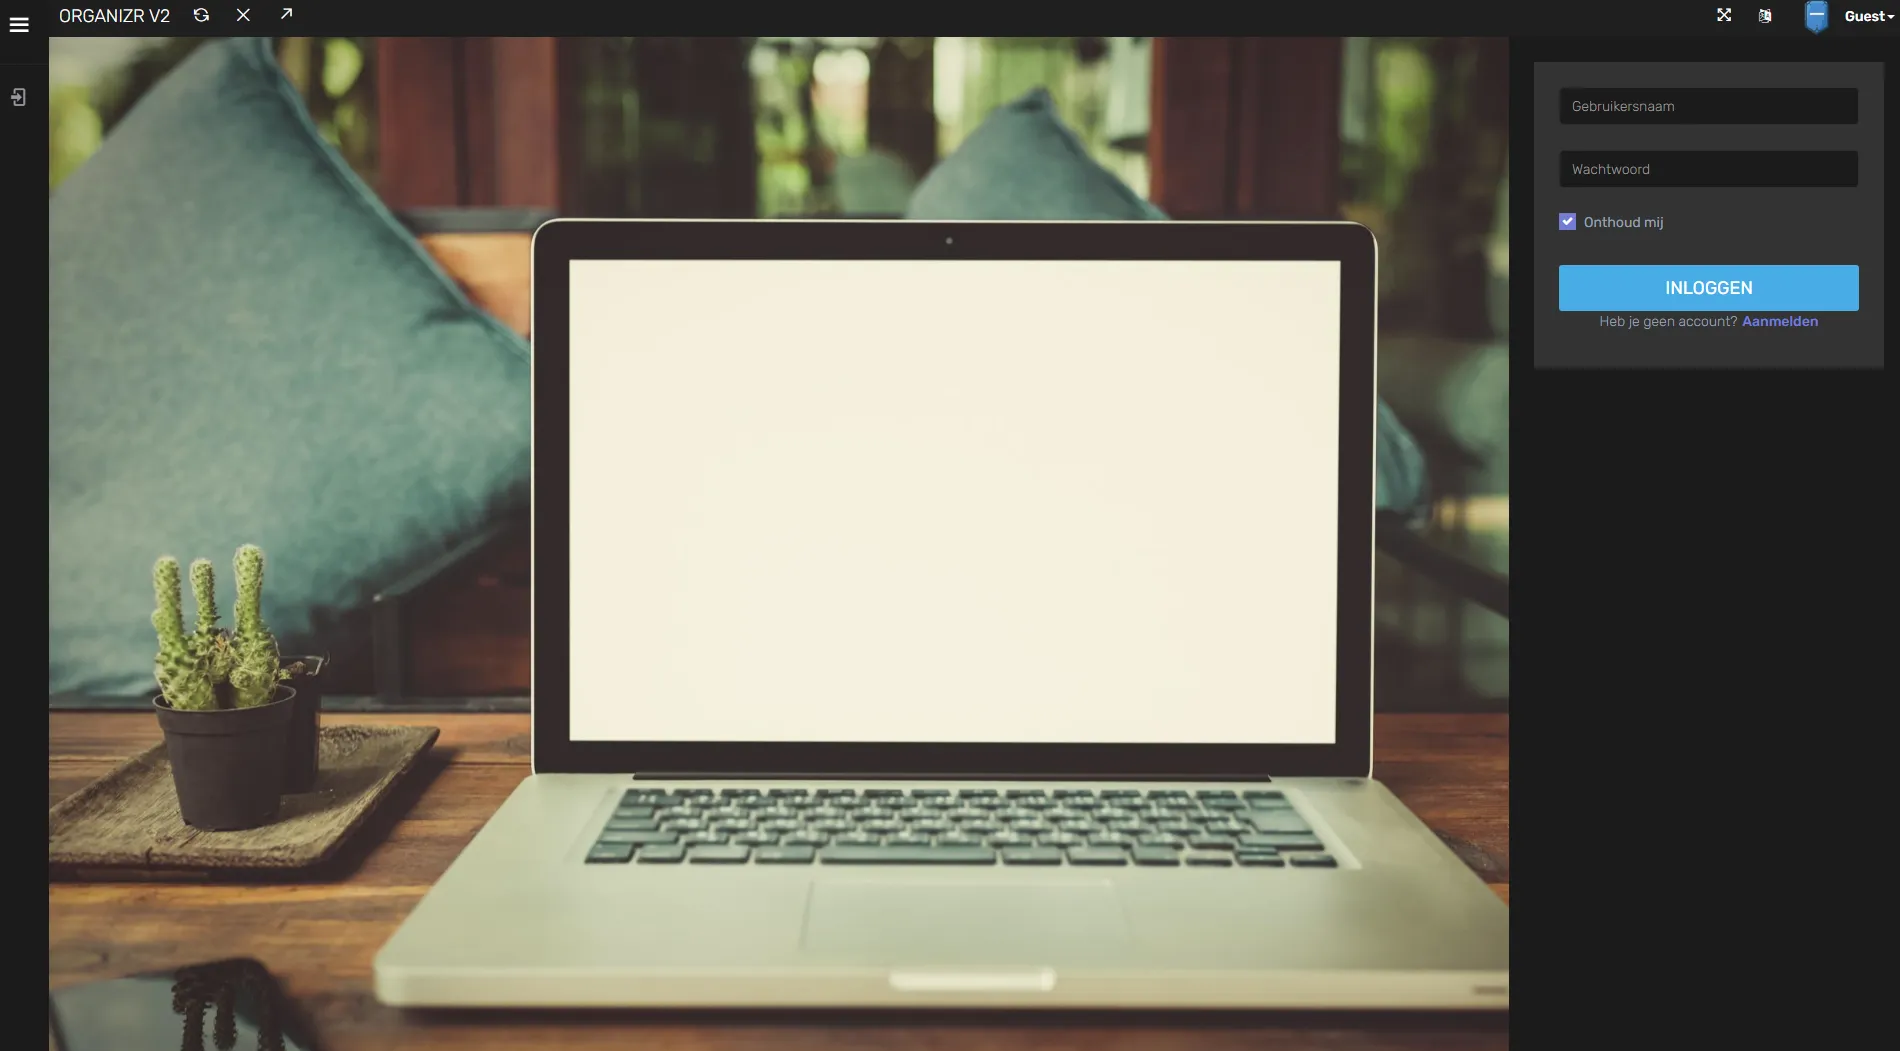
Section titled “Verify it works”Visit the app’s URL where you set ingress + forwardAuth middleware. You will see the following organizr login page:
Optional: Enable Plex OAuth (or LDAP backend service)
Section titled “Optional: Enable Plex OAuth (or LDAP backend service)”Additionally Organizr supports enabling plex oauth or LDAP as your authentication backend. If you have users already provisioned in Plex, you can point to your plex server for OAuth.
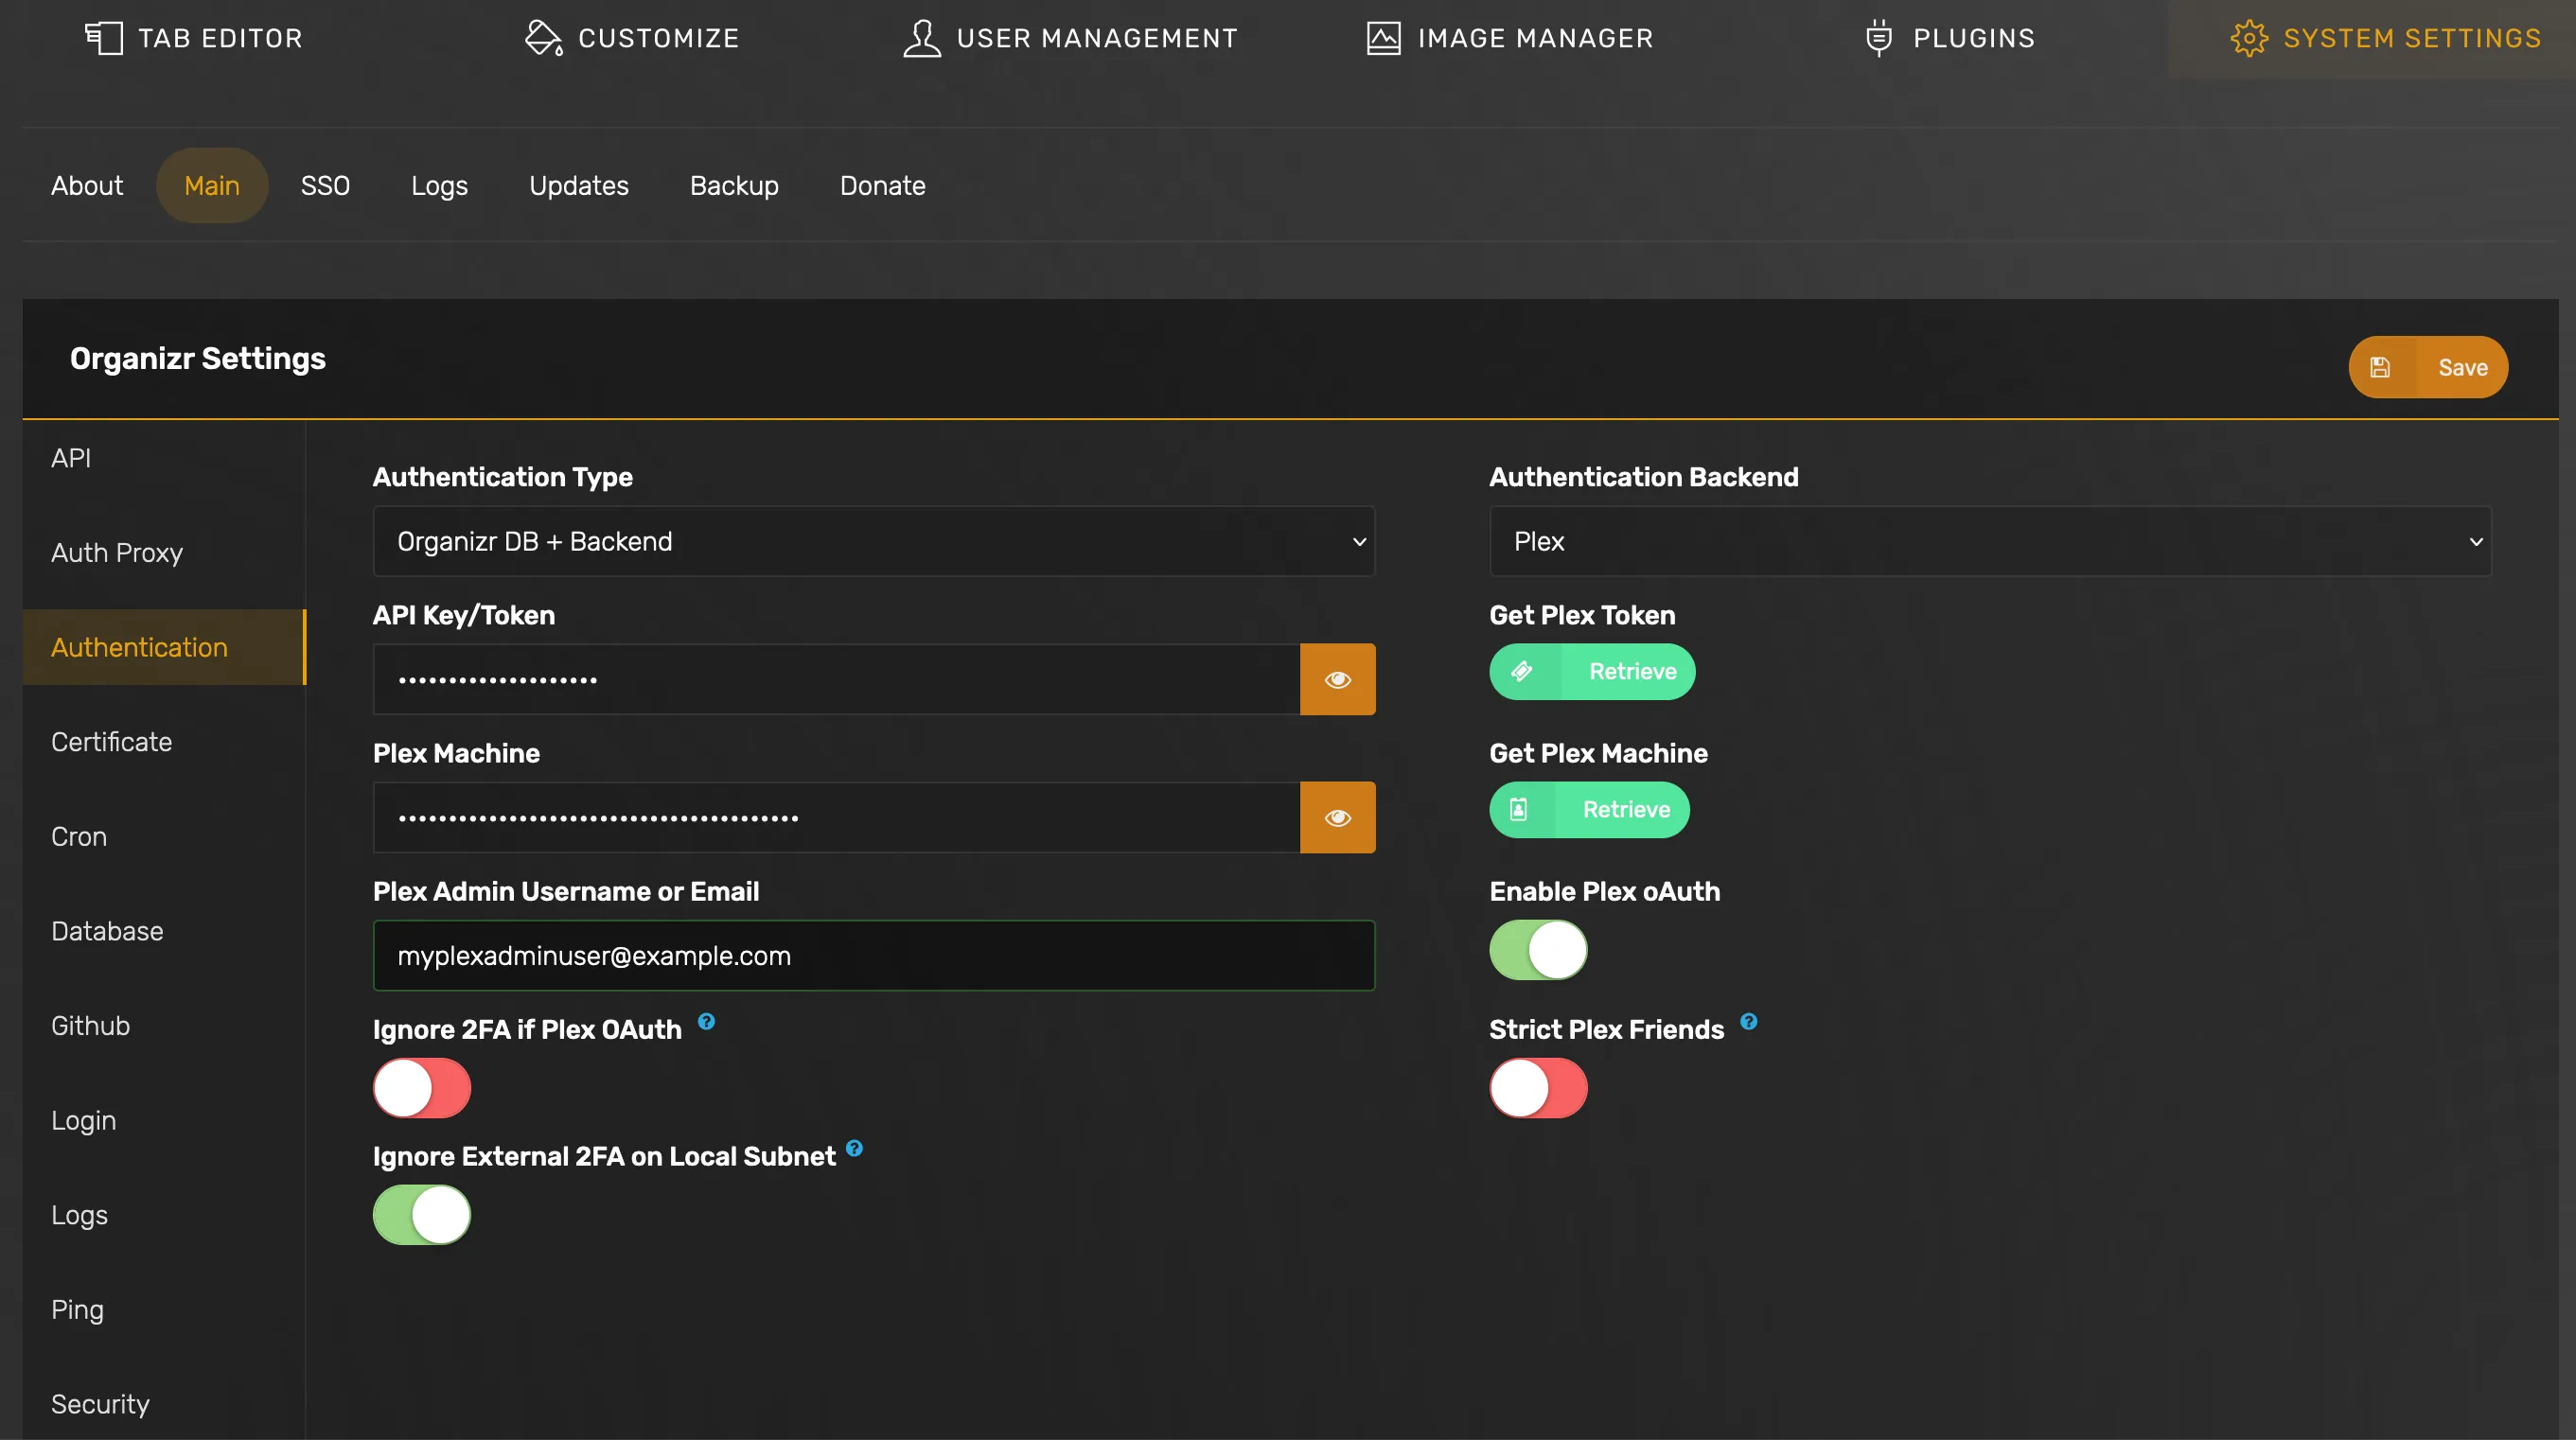
When Plex OAuth is enabled, users will see the option on the Organizr authentication page:

See Organizr documentation on “Plex Authentication Backend” for more details.