Installation Notes
Cloudflared Tunnel Creation
- Go to cloudflare team dash and create a tunnel or migrate a current tunnel (this action is not reversible) by going to access and then tunnels tab.
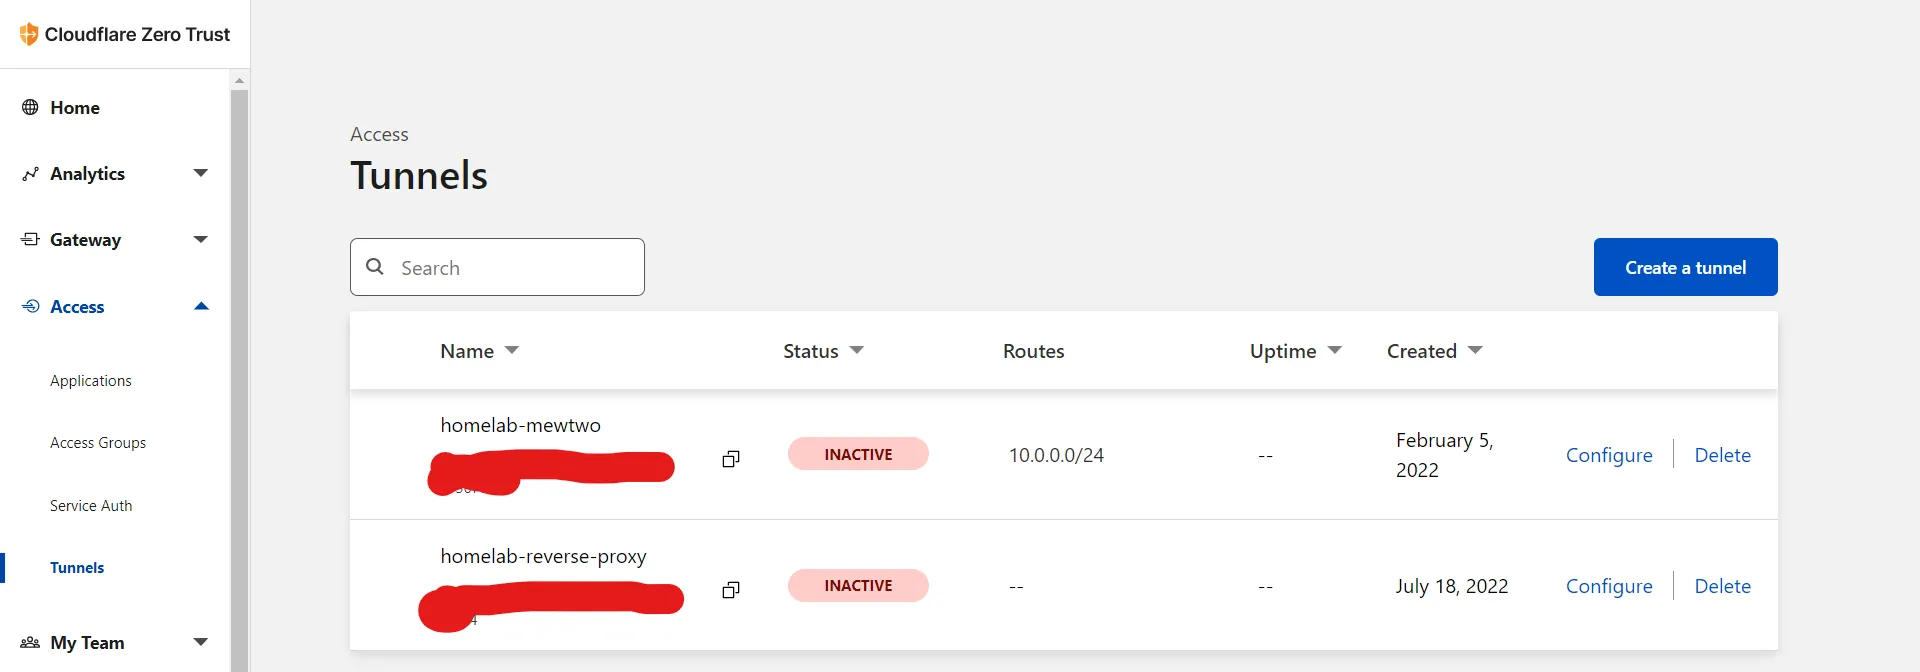
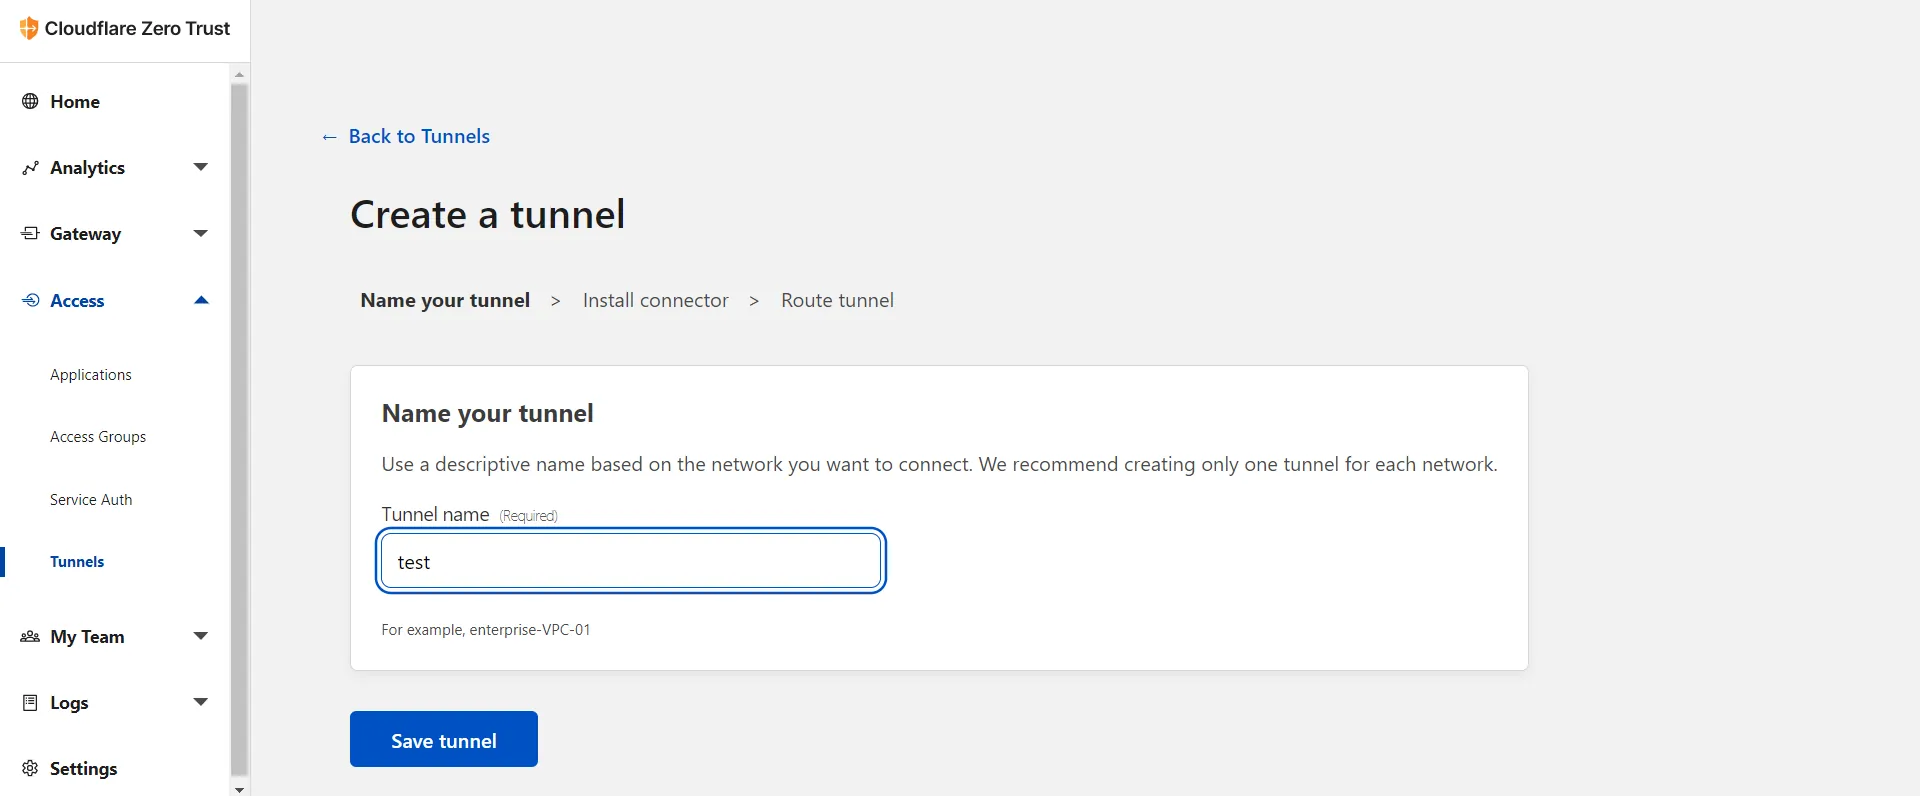
- Create a tunnel like so (or migrate a current one)
- Copy JUST the token from tunnel’s overview Install and run a connector section.
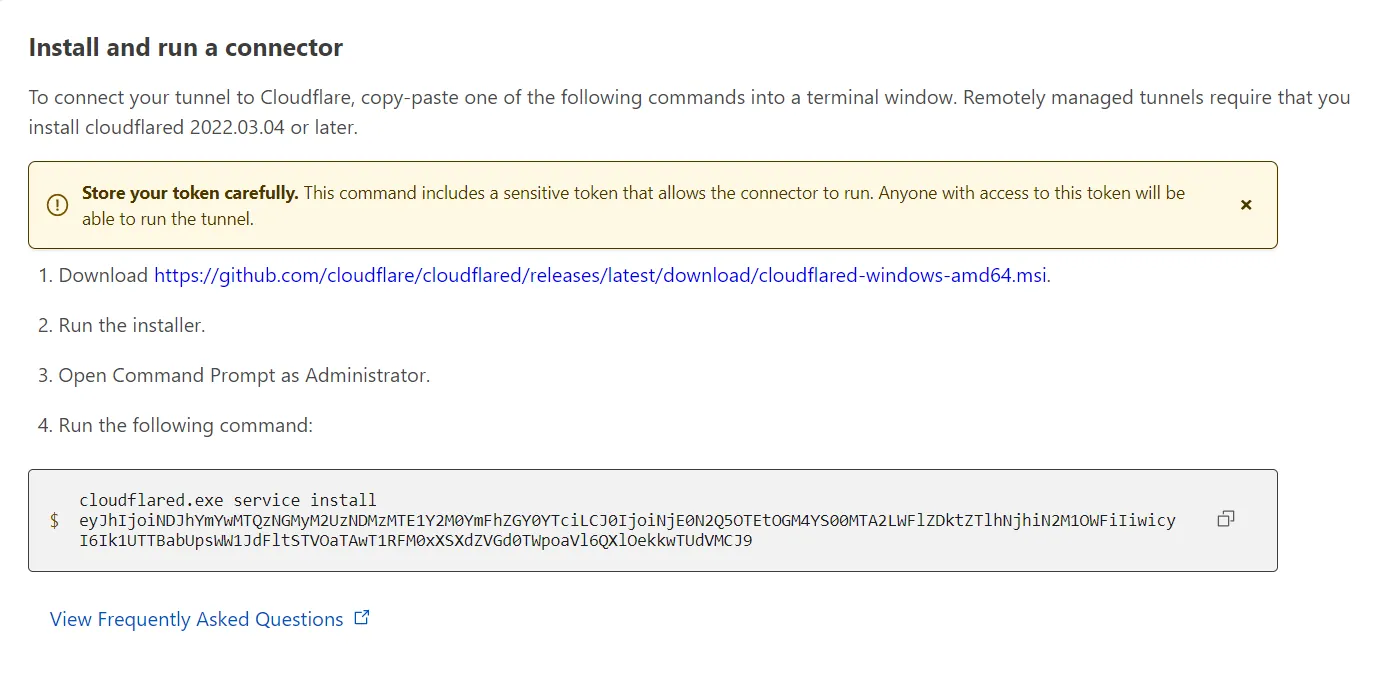
- Set the
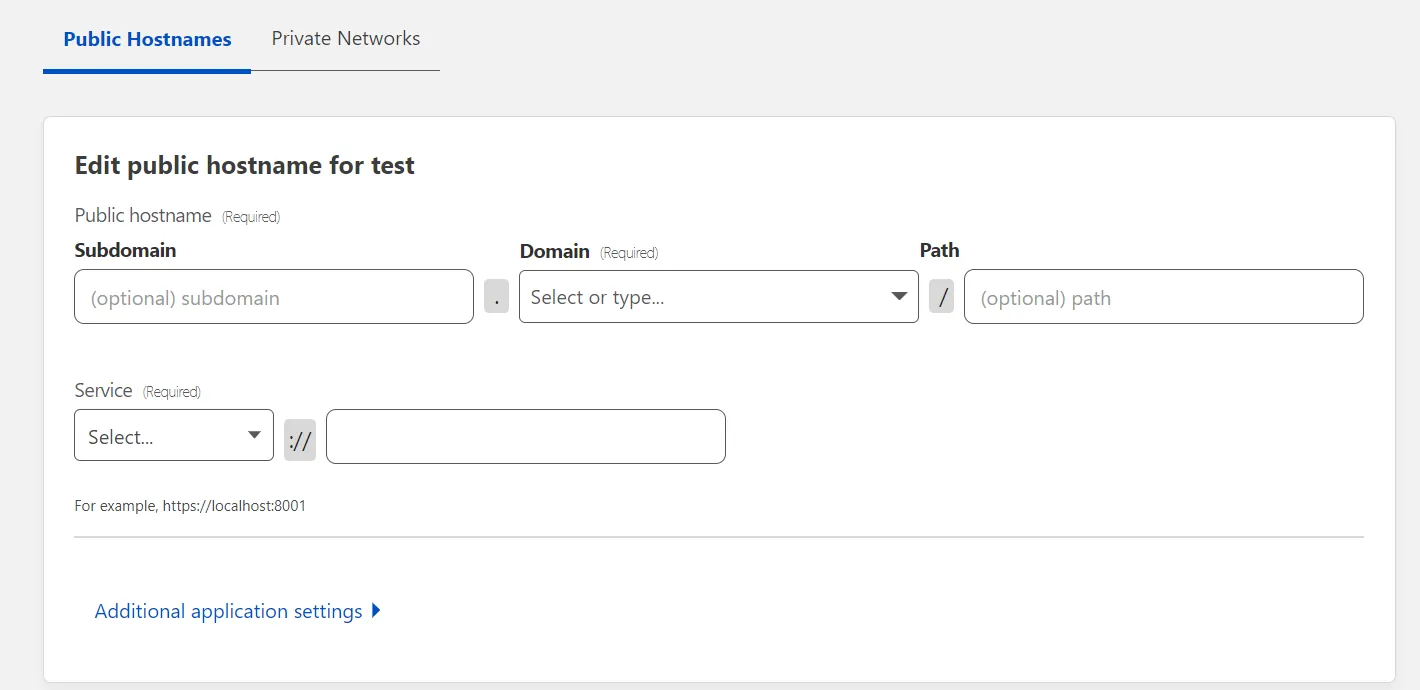
tokenwith your tunnel’s token. the tunnel ID will NOT work. - Now you can manage the tunnel via cloudflare dash by setting a private network or create ingress rules for your services and domain, explained in Setting up individial charts
-
You MAY need to modify cloudflared Zero Trust various settings in order for this work out-of-the-box which is beyond the scope of this guide.
-
You can use this as a reverse proxy directly or use it in conjunction with traefik if you are behind a CGNAT, do not have a static IP, or can not port forward 443 (SSL).
Setting up individual charts
Using traefik
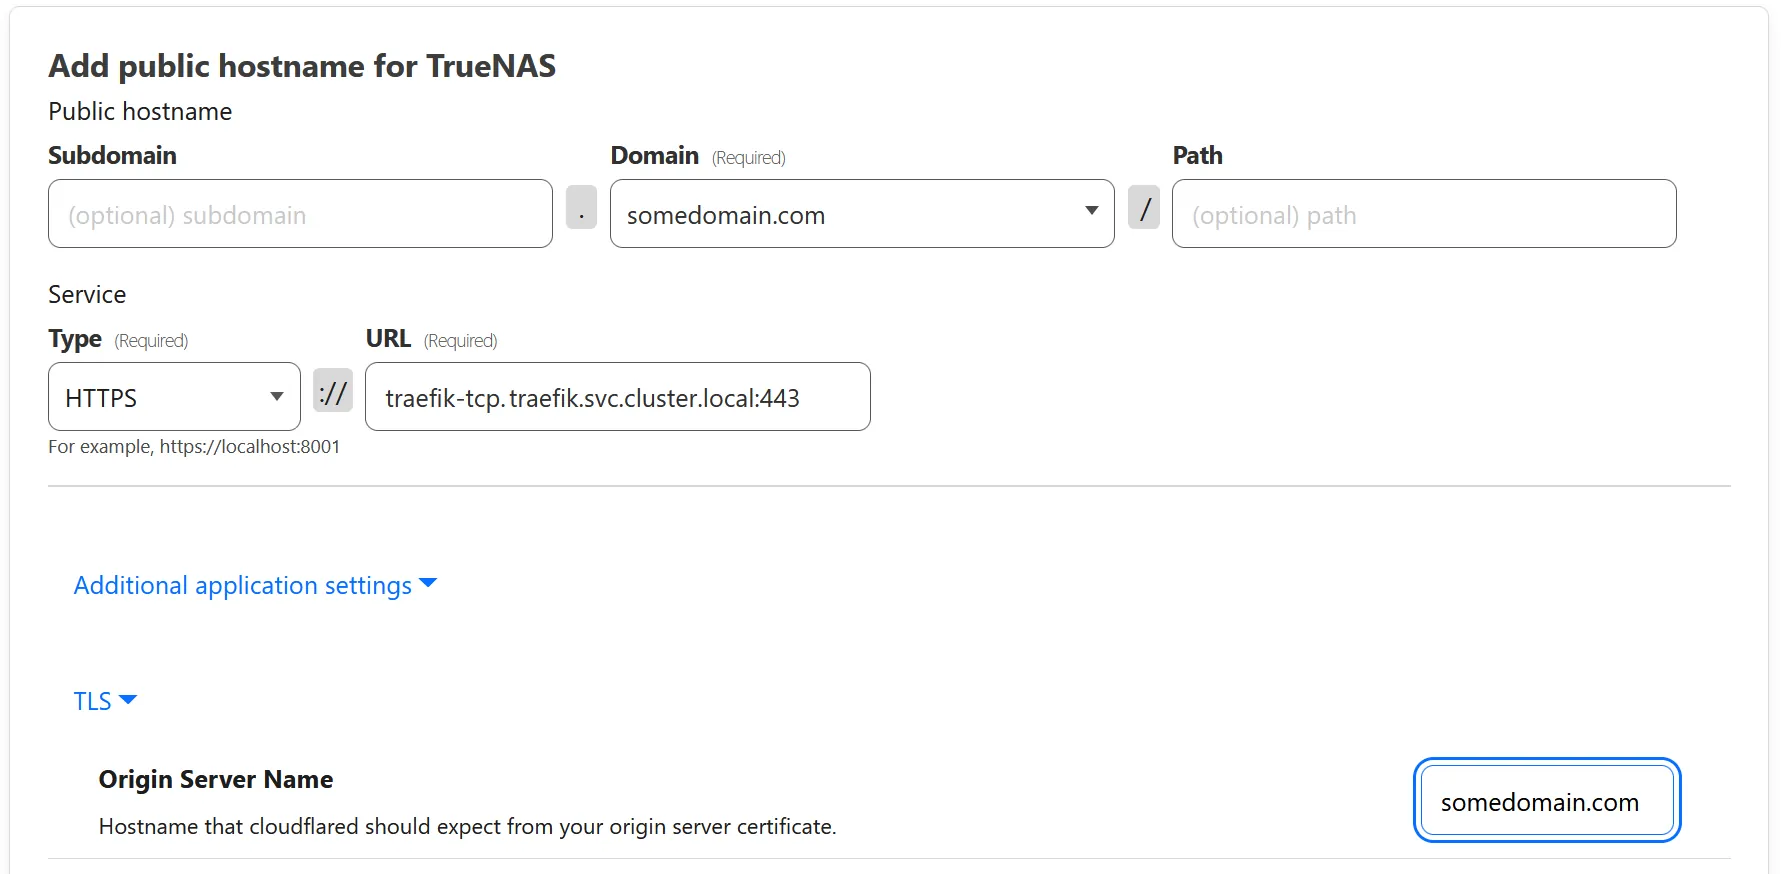
If you’ve set up your charts with traefik, you need to set up two public hostnames
- Set
subdomainto a sub domain (can be left blank to use the root domain) - Set
domainto your domain - Set
typetoHTTPS - Set
URLto your traefik URL, usuallytraefik-tcp.traefik.svc.cluster.local:443(make sure the port is the same as the port you specified in traefik config) - Under
Additional application settings>TLS, setOrigin Server Nameto your domain (This needs to match what you have set for the sub and root domain; example:chartname.somedomain.com).
Then you need to do the same to set up the subdomain for each chart you want to expose, using the same subdomain you specified in the charts ingress section as follows:
Without traefik
If you’ve not set up traefik and ingress, and exposing the ports using the normal loadbalancer, you only need to set up each chart individually, and set URL to <LoadBalancerIP>:<PORT> or cluster-url for each chart.