NFS Shares with Apps on TrueNAS SCALE
With the recent changes to TrueNAS SCALE 22.12 concerning HostPath validation (read our news or our adding storage pages to learn more) the one way to add media storage is to mount NFS Shares to your TrueCharts applications. This process involves two parts, and this guide will demonstrate each step to create NFS Shares in SCALE and then add them in the Storage section of TrueCharts apps. This won’t work with the official catalog applications. As well, one can use NFS shares and SMB shares on the same dataset, but only NFS shares are mounted by TrueCharts applications.
Part 1 - Create NFS Shares in SCALE
In the main SCALE GUI, select the Shares item on the menu bar and you’ll read this page.

Click on Add inside the UNIX (NFS) Shares section.
- Select the dataset or folder that contains your media library, description is optional but helps, and then click
Savechoose the Save option.
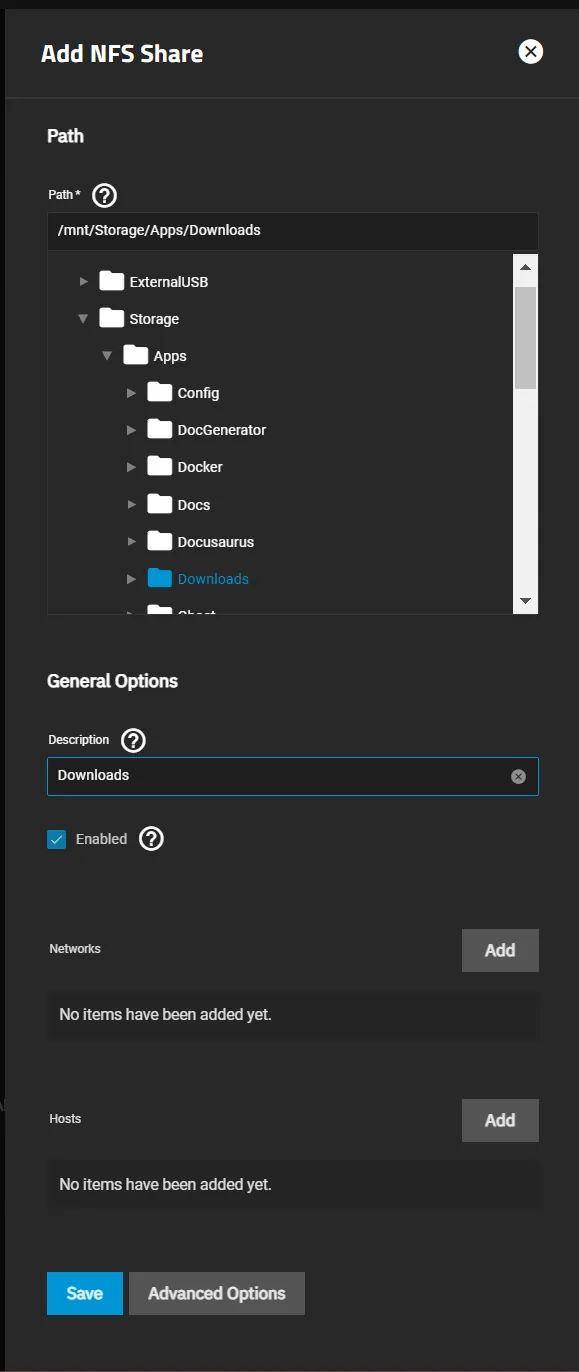
- Repeat as necessary for different folders or datasets you wish to share, and make sure you note the paths of each
NFS Share, as you will need to enter those later.
Part 2 - Add NFS Shares to Applications
Next you’re going to add NFS Storage to your applications. This can be in the media or downloads storage for certain apps or Additional App Storage for others (such as the example below). We do no recommend installing the entire app to NFS Shares as that can corrupt any databases inside the app. This is meant for media or file storage only.
- Select
Addnext toAdditional Add Storage
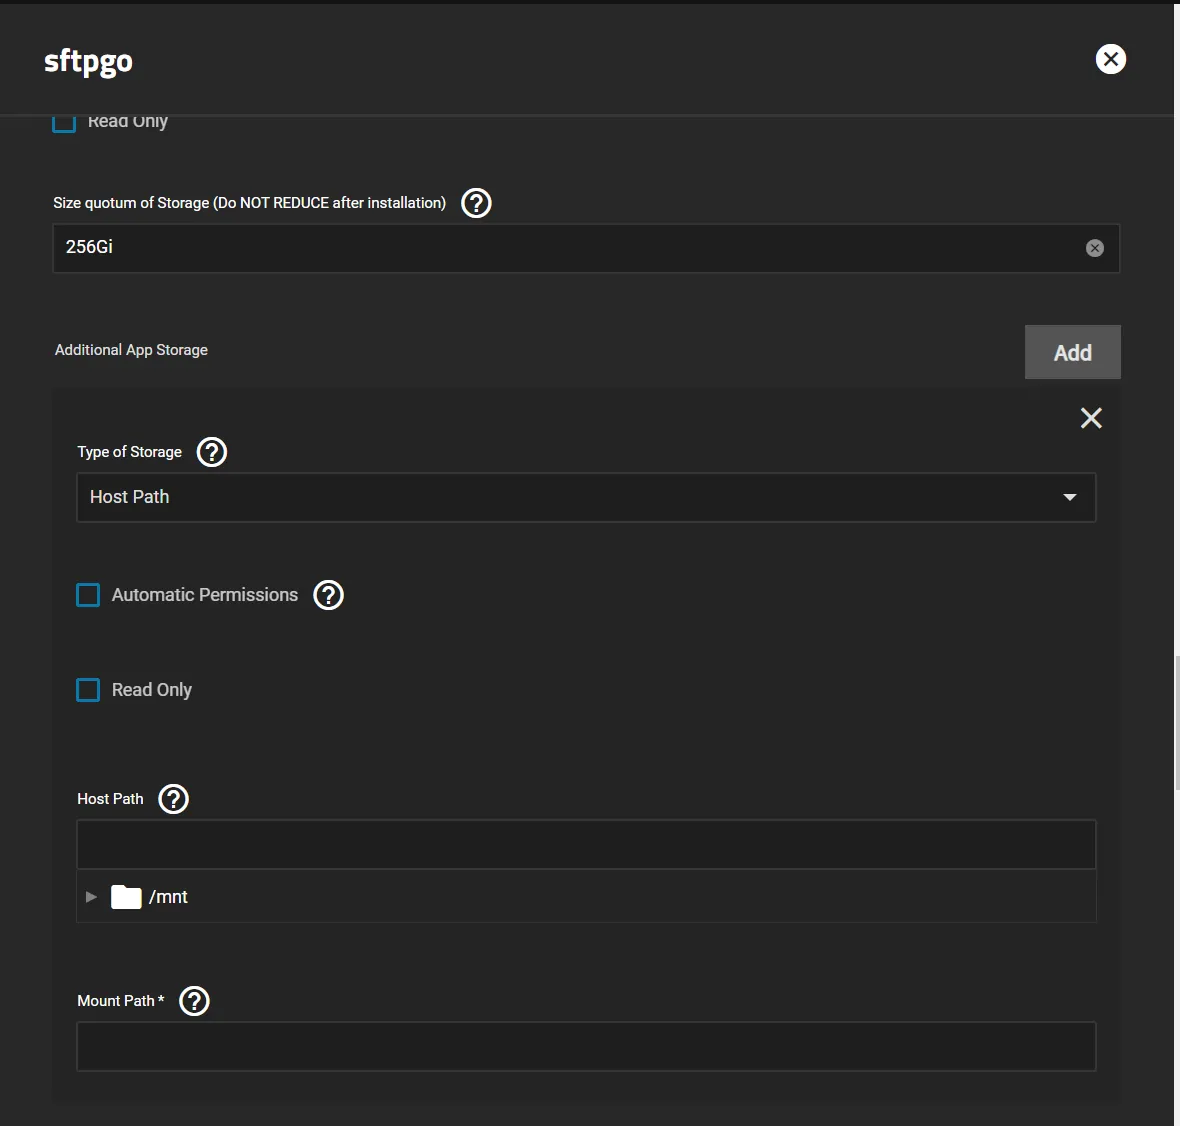
- Change to
NFS Sharein theType of Storagedropdown
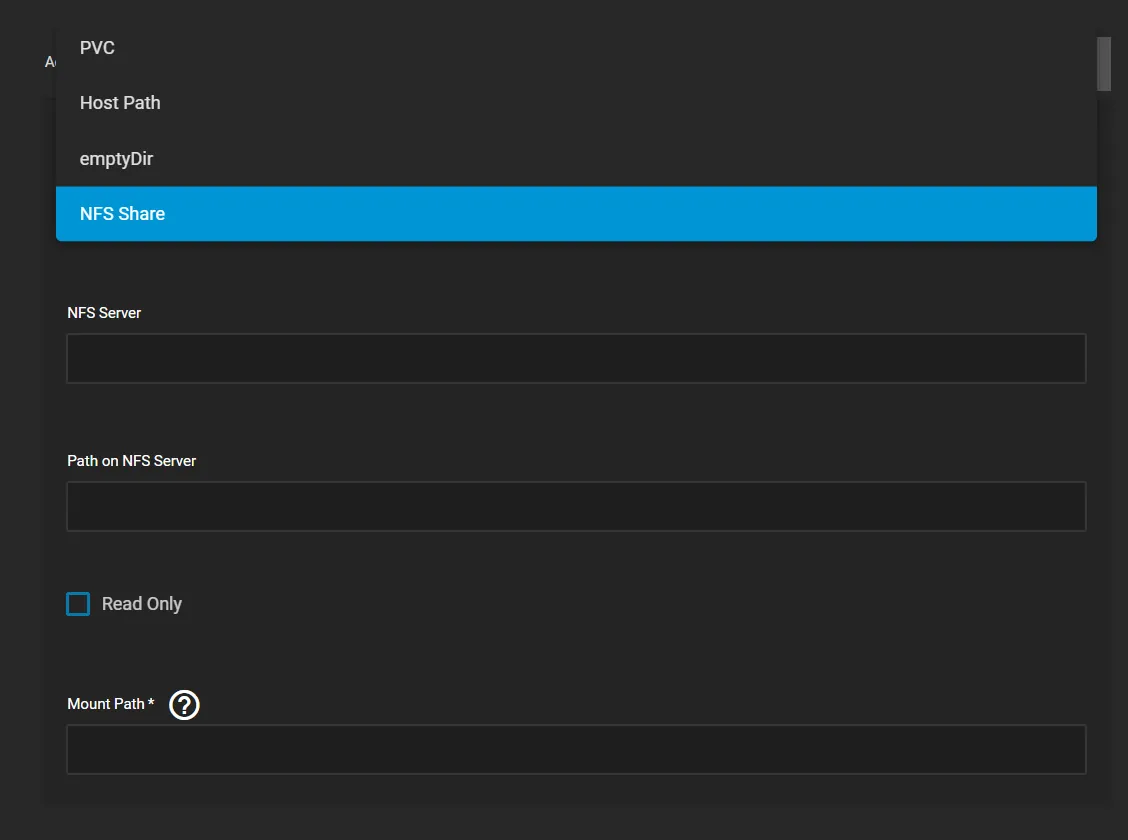
- Enter info for your
NFS Shareas below, for this example we’ll use theDownloadsshare we created above.- The NFS Server can be
localhostor yourSCALE IP, I keepSCALE IP. Path on NFS Serverhas to match yourNFS Sharespath, as above I had mnt/Storage/Apps/Downloads/Mount Path*is the container path, I simply put/downloads
- The NFS Server can be
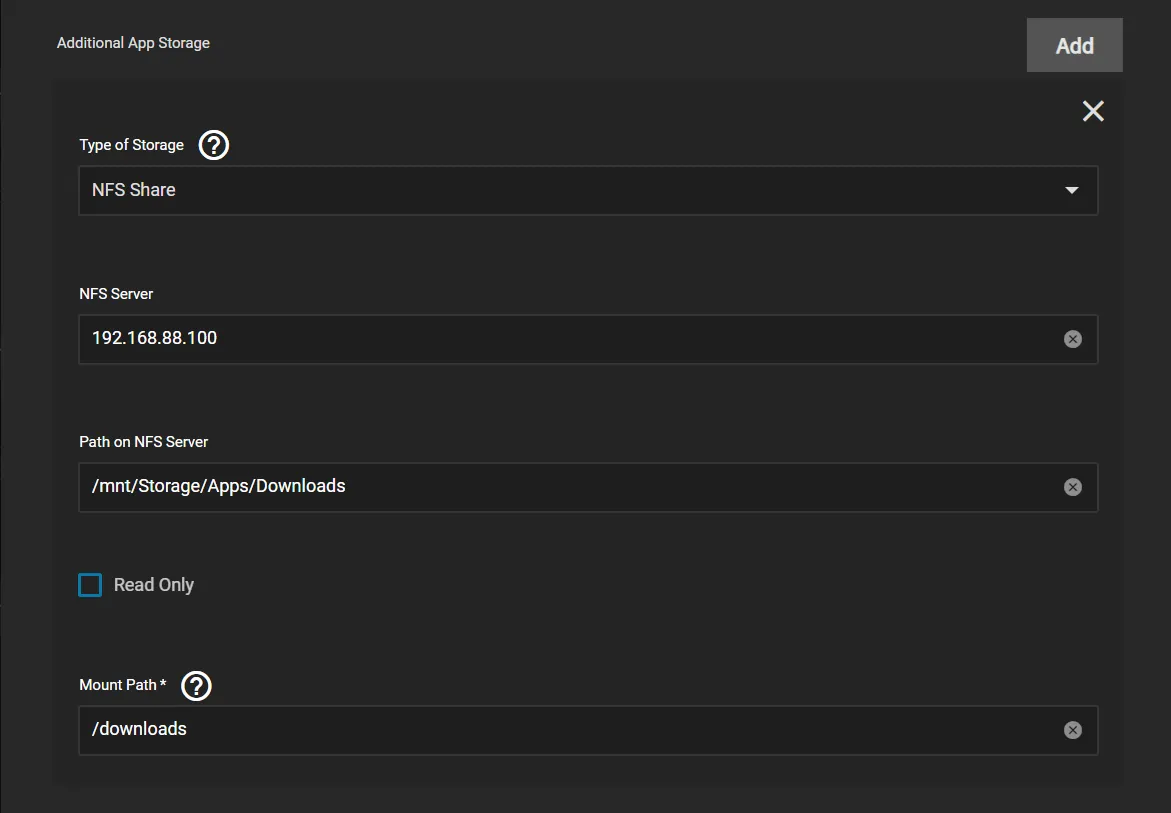
- Continue entering info as any regular app and click
Save.
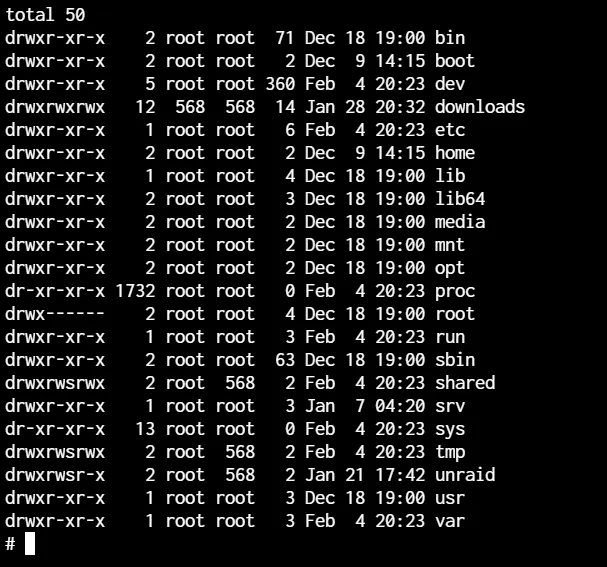
And that’s it, to verify depending on the app you can use the App Shell such as the example below or the GUI inside the web interface of your app.